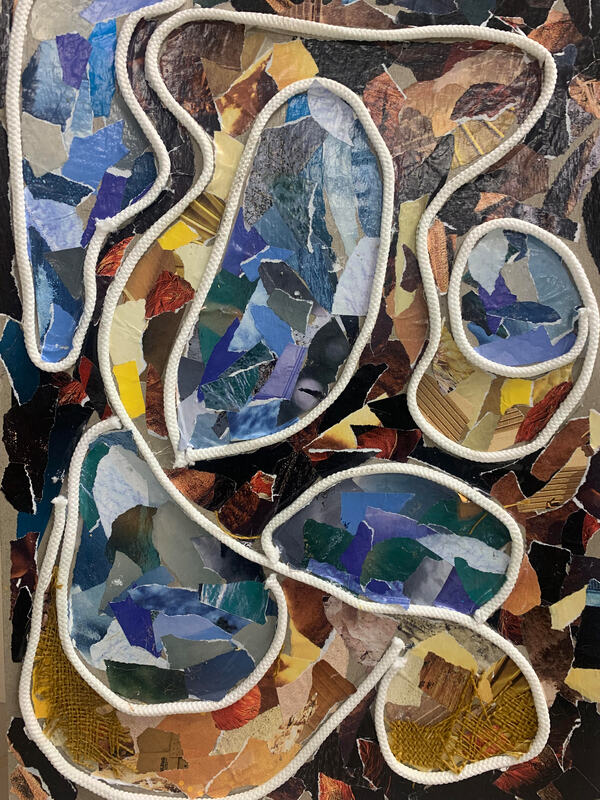
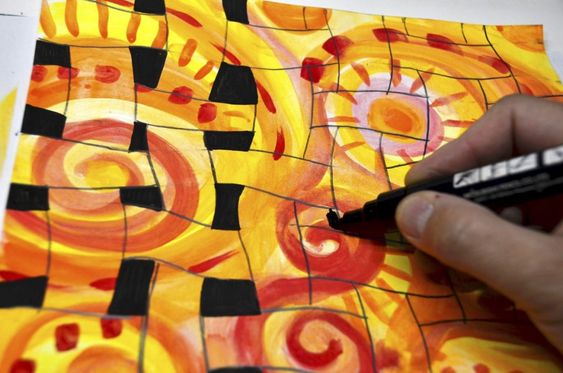
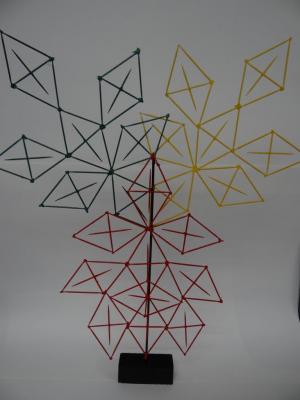
Objective: Create a multi media study that addresses the creation of patterns. Create several layers of overlapping information. Directions: 1. Using a pencil draw intersecting lines across the paper from different directions. 2. Use watercolor paint to create light washes of paint within the different sections of the paper. 3. Make secondary shapes with watercolor paint over the initial application of paint. 4. Use a black sharpie marker and go over the outline of the pencil marks from step 1. 5. Using a black sharpie create random patterns within each section of the watercolor paper. Materials: 1. Watercolor paper 2. Watercolor paint and brushes 3. A #2 pencil 4. Black sharpie marker Portuguese: Objetivo: Criar um estudo multimídia que aborde a criação de padrões. Crie várias camadas de informações sobrepostas. Instruções: 1. Usando um lápis, desenhe linhas que se cruzam no papel em diferentes direções. 2. Use tinta aquarela para criar leves camadas de tinta nas diferentes seções do papel. 3. Faça formas secundárias com tinta aquarela sobre a aplicação inicial de tinta. 4. Use um marcador preto e repasse o contorno das marcas de lápis da etapa 1. 5. Usando um marcador preto, crie padrões aleatórios em cada seção do papel aquarela. Materiais: 1. Papel aquarela 2. Tinta aquarela e pincéis 3. Um lápis nº 2 4. Marcador canetinho preto Spanish: Objetivo: Crear un estudio multimedia que aborde la creación de patrones. Cree varias capas de información superpuesta. Direcciones: 1. Con un lápiz, dibuje líneas que se crucen en el papel desde diferentes direcciones. 2. Utilice pintura de acuarela para crear ligeros lavados de pintura dentro de las diferentes secciones del papel. 3. Haga formas secundarias con pintura de acuarela sobre la aplicación inicial de pintura. 4. Utilice un marcador negro y repase el contorno de las marcas de lápiz del paso 1. 5. Usando un marcador negro, cree patrones aleatorios dentro de cada sección del papel de acuarela. Materiales: 1. Papel de acuarela 2. Pintura y pinceles de acuarela. 3. Un lápiz número 2 4. Marcador Sharpie negro Objective: Using the additive process, create a repeating unit toothpick sculpture.
Examples of Modular Sculpture ( Pinterest) Directions:
Vocabulary [Vocabulary Study Guide]
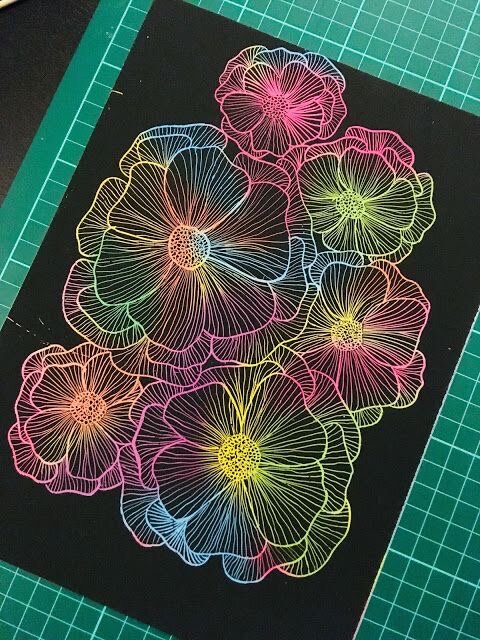
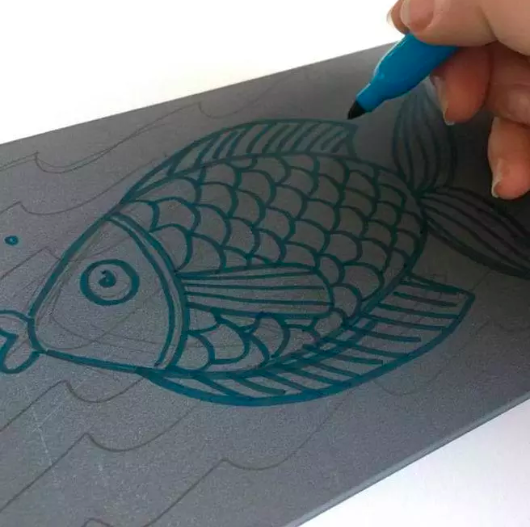
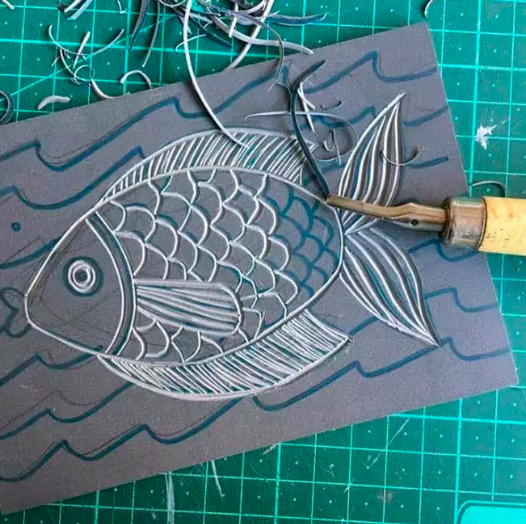
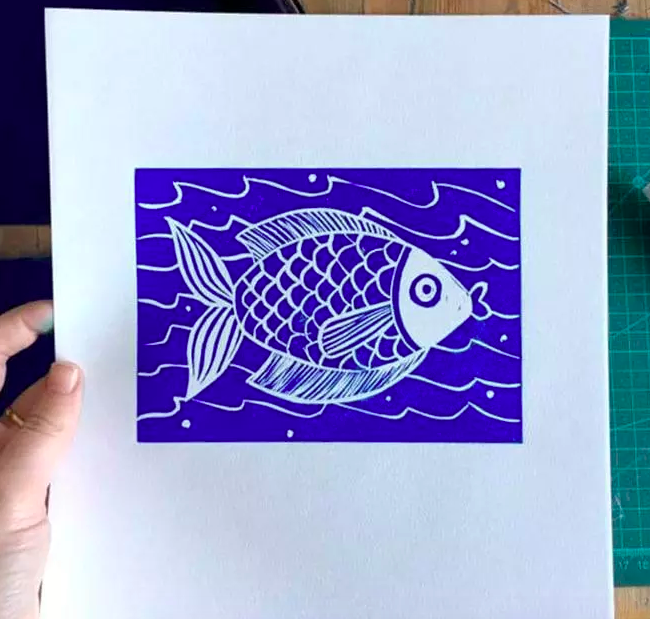
A reduction print is made when an artist creates a multi-colored, layered print using a single print block. The block could be foam, linoleum or even wood. The artist repeats the process of carving and printing over and over until the final look is achieved. Se realiza una impresión de reducción cuando un artista crea una impresión en capas multicolor con un solo bloque de impresión. El bloque podría ser espuma, linóleo o incluso madera. El artista repite el proceso de tallado e impresión una y otra vez hasta lograr el aspecto final. Uma impressão de redução é feita quando um artista cria uma impressão em camadas multicolorida usando um único bloco de impressão. O bloco pode ser de espuma, linóleo ou até madeira. O artista repete o processo de esculpir e imprimir repetidamente até que a aparência final seja alcançada. Goal: Make a two tone linoleum print. This will include (1) the white of the paper, (2) a light color & (3) a dark color. The first cut should be the largest shapes. The second cut should be smaller shapes within the larger forms.
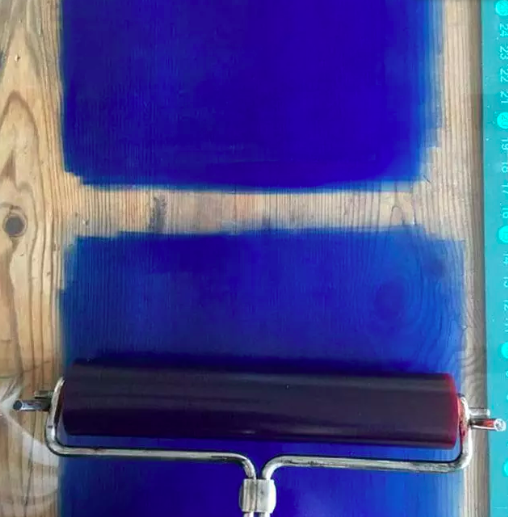
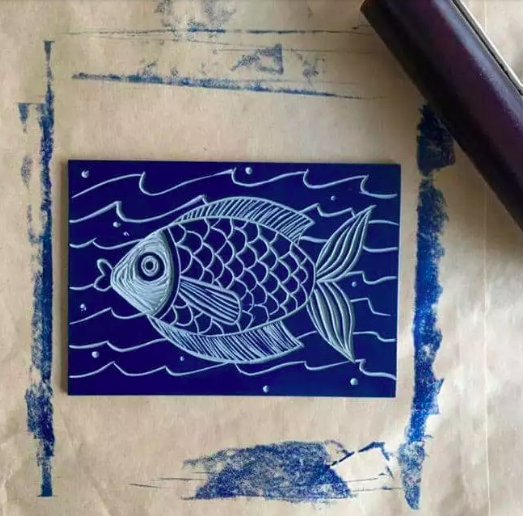
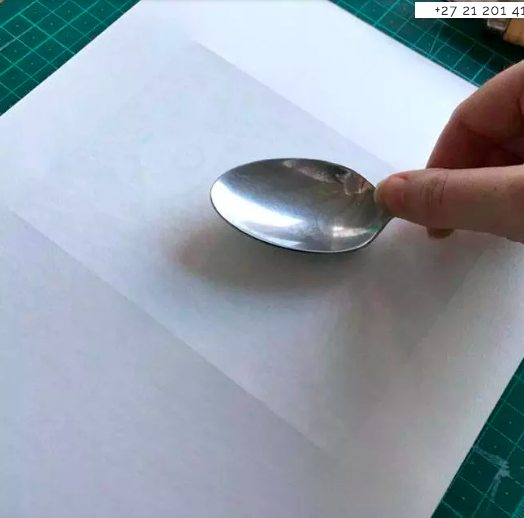
Directions: 1. Work out a design for your print project. Draw directly on the linoleum or use a sheet of tracing paper. 2. Use a black marker and go over the pencil marks on the linoleum. 3. Use a colored marker to fill in the areas that you want to first cut. *The first cut will preserve the white of the paper! 4. Apply the lightest color first. Use a roller to evenly distribute the ink on to the linoleum surface. 5. Make a registration on the paper to ensure that the linoleum plate lines up correctly. *Make multiple prints from the first cut before moving on to the next. 6. Cut further into the linoleum plate surface producing secondary shapes for printing. 7. Ink up the plate with the darker color. Pay attention to the registration marks. Line up the plate and apply the second layer of ink onto the paper surface. Repeat this step until all prints are completed.
Directions:
|